What do ND filters do for us?
A look at the difference ND filters make to your image…with facts, pictures, raw data and everything!
 With the clouds, rain and wind being a constant through most of May, I thought it would give me an opportunity to run a quick test on ND filters… and find out what they do.
ND filters are specifically designed to reduce the amount of light reaching the sensor. That’s it, nothing else. They are not designed to add colour or contrast (there are other filters that do this), just reduce the amount of light getting to the sensor.
This allows a videographer to meet the 180 degree rule or a photographer to create effects such as motion blur where light conditions are too bright to allow this by stopping down the aperture. At a higher level, they can be used to allow the use of a specific aperture, either for a creative effect or to ensure that the “sweet spot” of the lens can be utilised.
For most drone photography (stills), unless one of these effects is desired, we are fighting against two things that impact image quality. One is macro movements, the drone not maintaining a perfectly stable position in space. The other is micro movements. These are present because the dampers aren’t perfect and some micro vibration will always reach the gimbal.
So I’ve removed as many variables as possible. By testing my filter on the ground on a light overcast day and using my micro 4/3rds 25mm f1.8 Olympus lens on an Olympus OM-D E-M5 MkII. The 25mm f1.8 is a fantastic little lens and commonly used on survey jobs when fitted to the X5/X5s gimbals beneath Inspire and Matrice class platforms.
Here was the process:
- Set the ISO to 100
- Let the camera set the WB
- Set camera to manual
- Set aperture to f5 (around the sweet spot)
- Take image with filter fitted
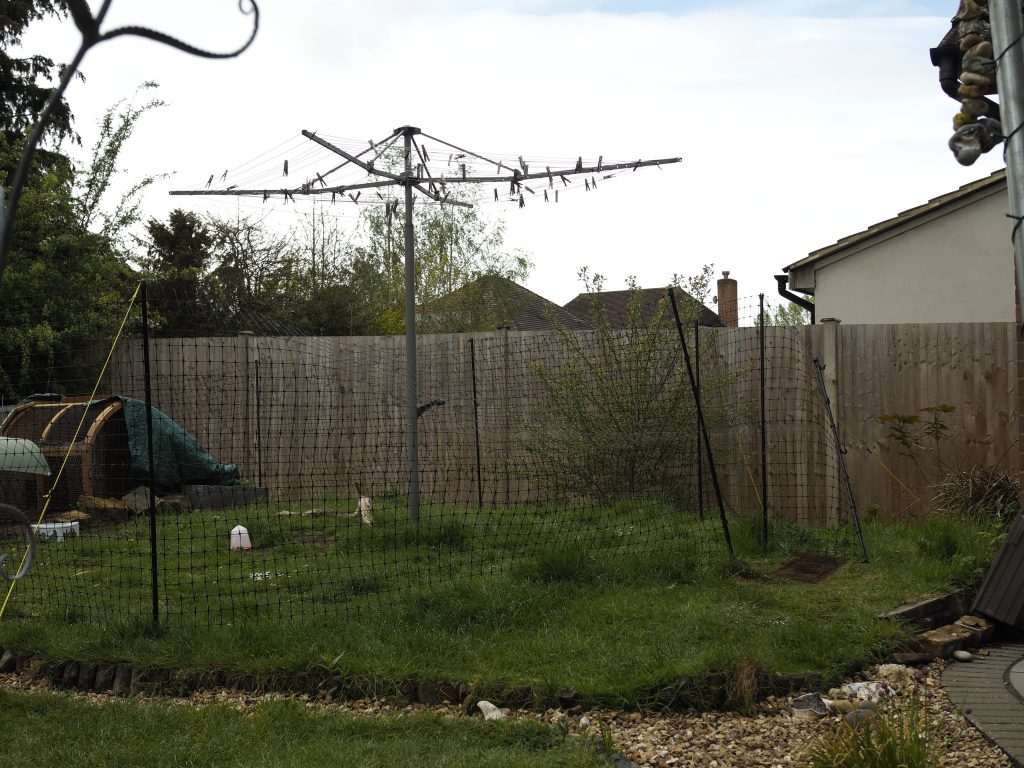
- Remove filter
- Adjust exposure
- Take image with filter removed
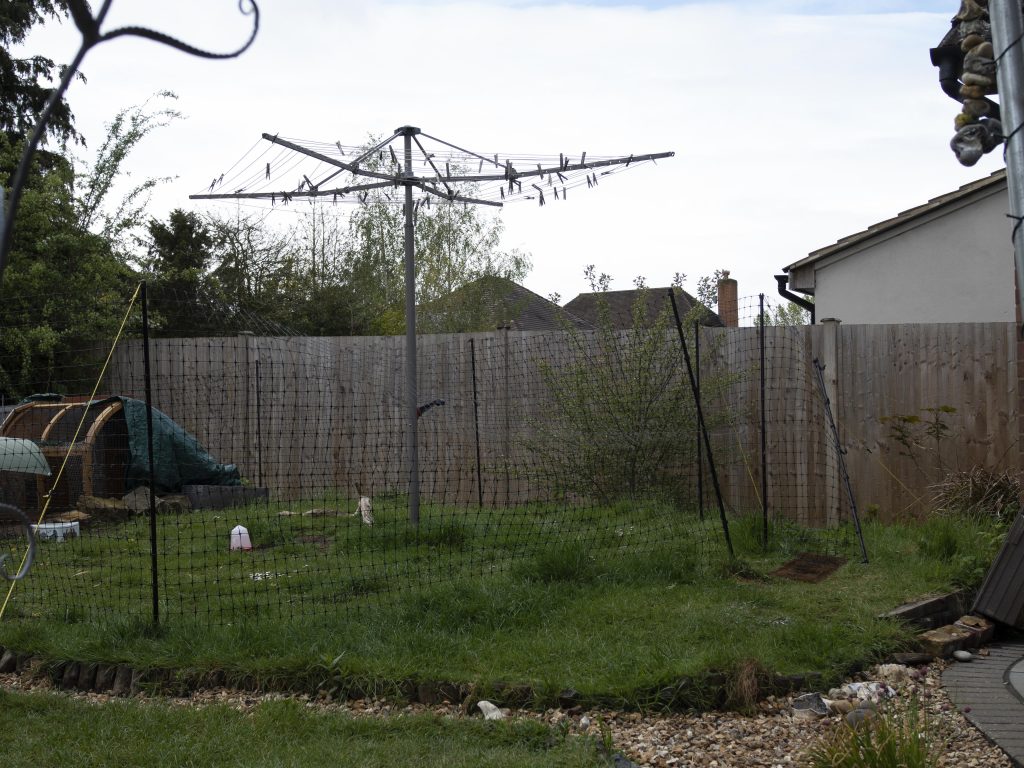
OLYMPUS DIGITAL CAMERA
- Import raw files into Light room
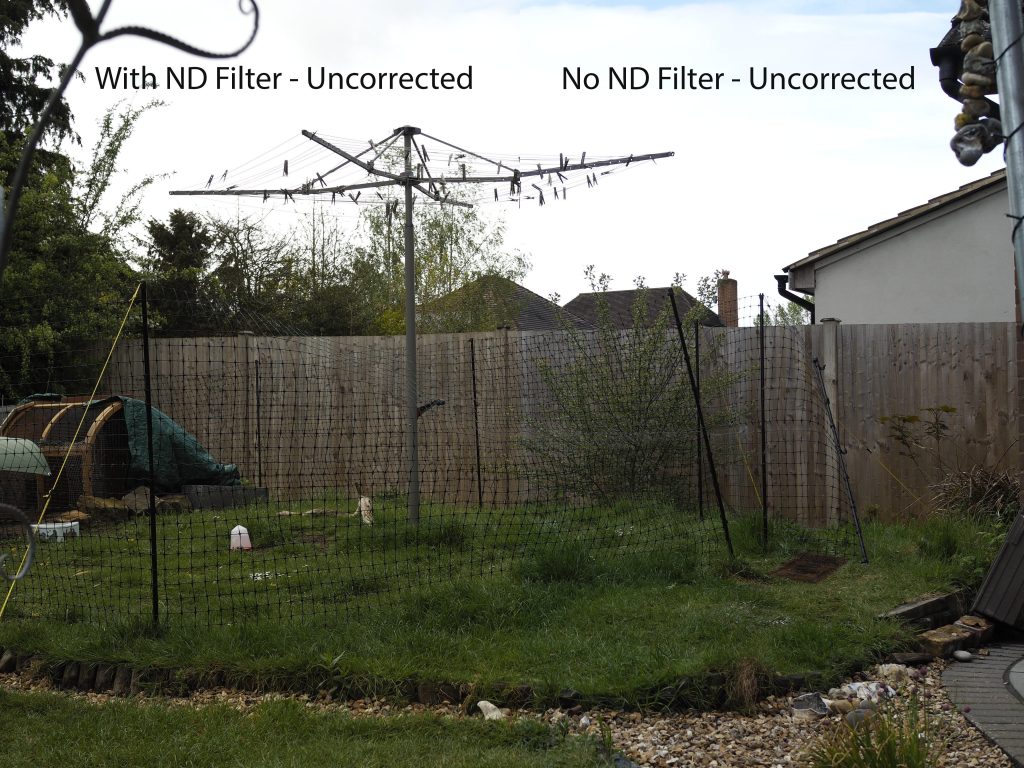
At this stage, there is a small qualitative difference between the images. The one with the filter seems slightly warmer and more pleasing to the eye. How can this be given that the filter is supposed to be “neutral”?
Well, the answer is probably a mix of two things. Firstly, getting a filter that is perfectly neutral is the goal, but is clearly very, very difficult. There are an infinite number of chemical mixtures that will produce a filter that isn’t quite perfect, but only very few that will be spot on. Given this difficulty, a manufacturer will be wise to go for a colour that is slightly warmer than colder simply because this will give more “pleasing” images in the majority of cases.
It also helps to explain why some operators are convinced that their filter is “improving” their shots. If you are trying to obtain as accurate a raw image as possible then it isn’t. All it is doing is putting an additional piece of glass in the way of an expensive lens and risking increased flare or image degradation.
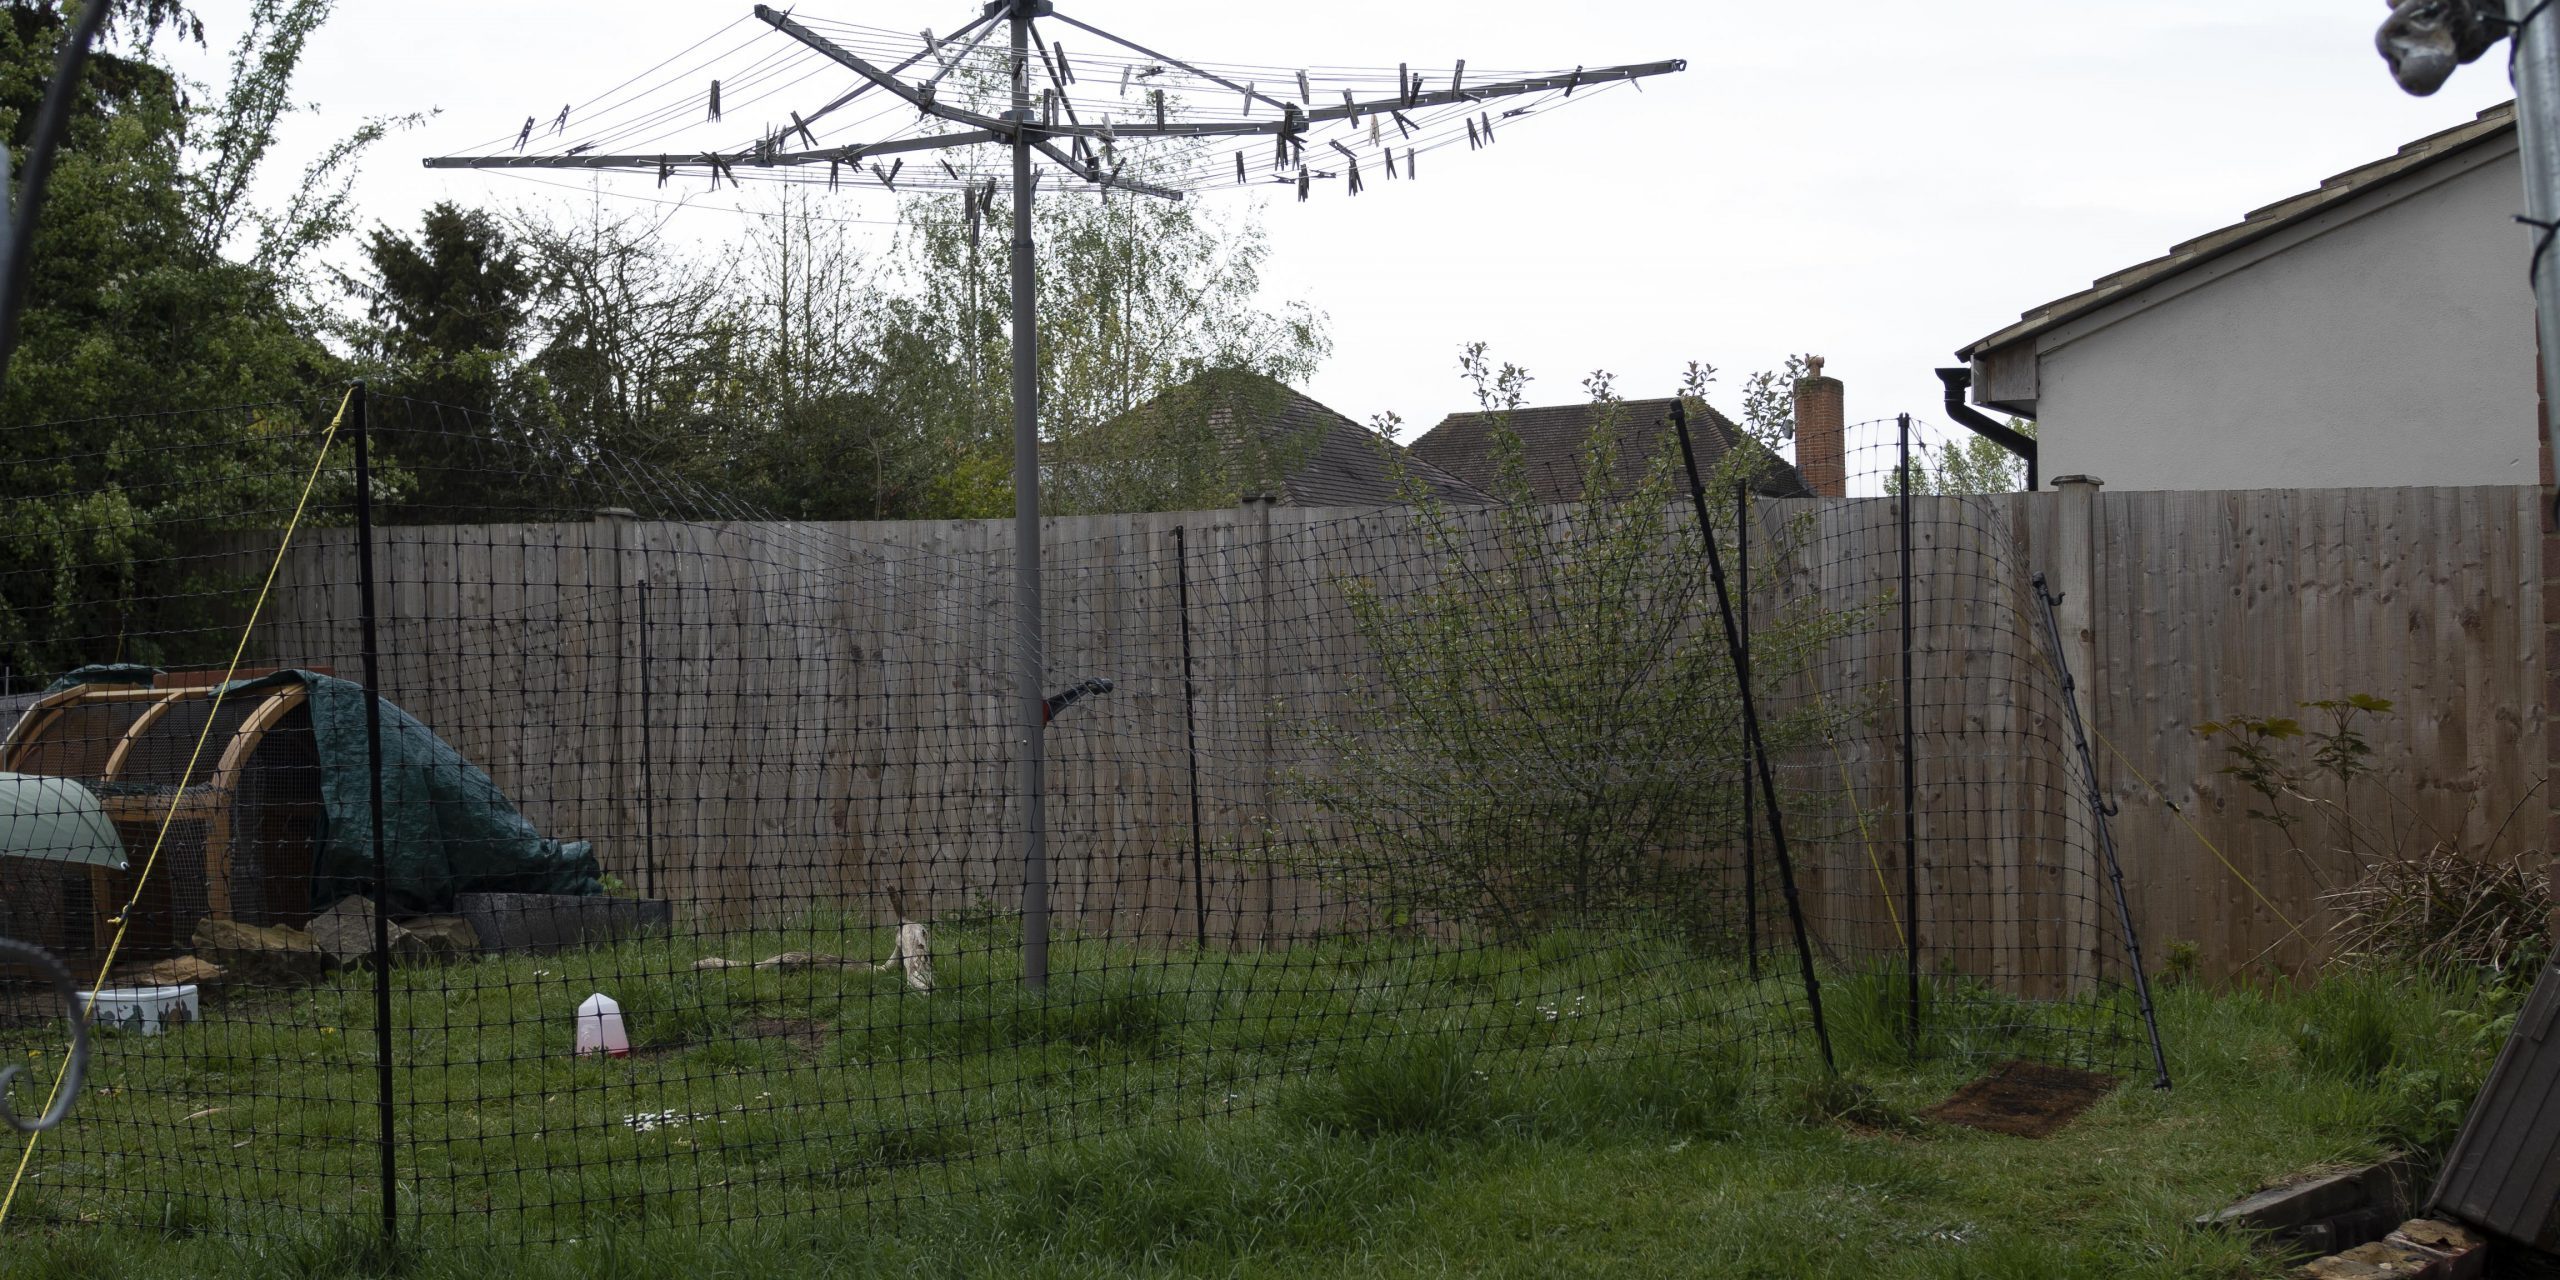
Let’s take a look at the initial 2 images side by side. You can see the real difference in the white balance of the fence about halfway across the image. It changes from warmer to cooler looking left to right. You can click on the image and it will open in a new window for a closer look.
It is easy to correct the image:
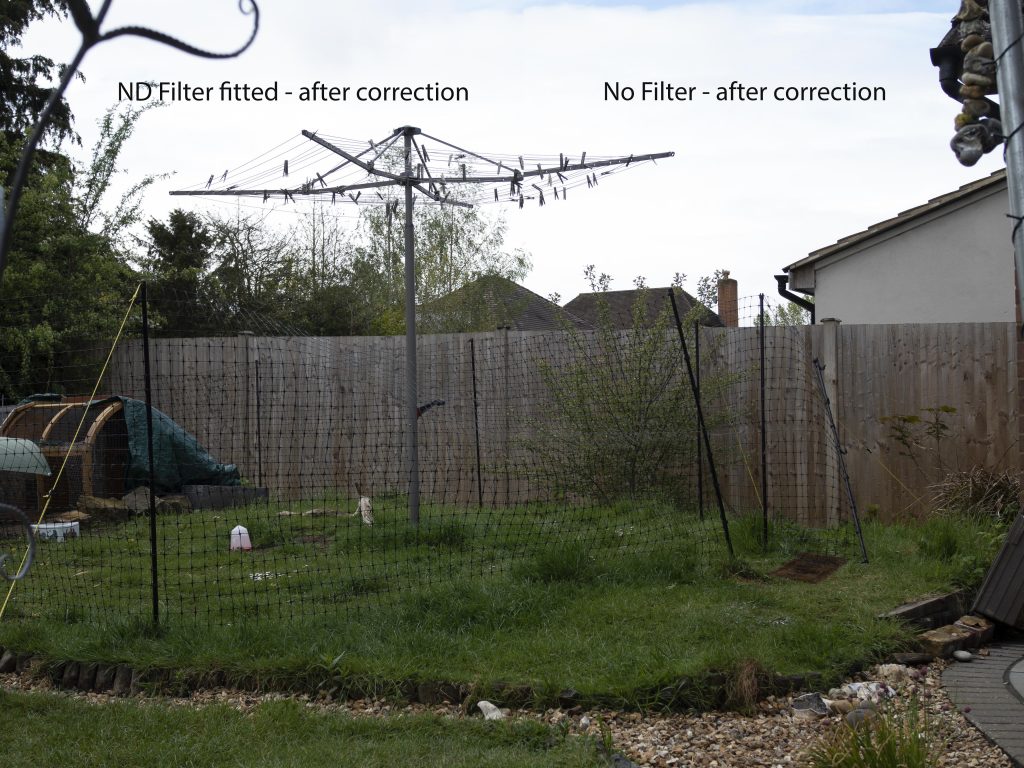
Step 10. Using the white balance dropper tool on a neutral part of the images immediately corrects the tone on both images, but the process calculates that larger changes are required on the ND filtered image..
Having done this, the images are pretty much identical in terms of colour, exposure. contrast, cast, white balance. To all intents and purposes they are the same.
So if you want to obtain the “ND” look, you could just tweak the white balance on your camera to warm up the image!
On point 2. Having realised I’d let the camera set the WB, I re-ran the test with a white card used to calibrate the white balance which was then fixed for both images. Having loaded the images into Lightroom and corrected for WB and cast using a neutral spot, the result was the same…identical outputs.
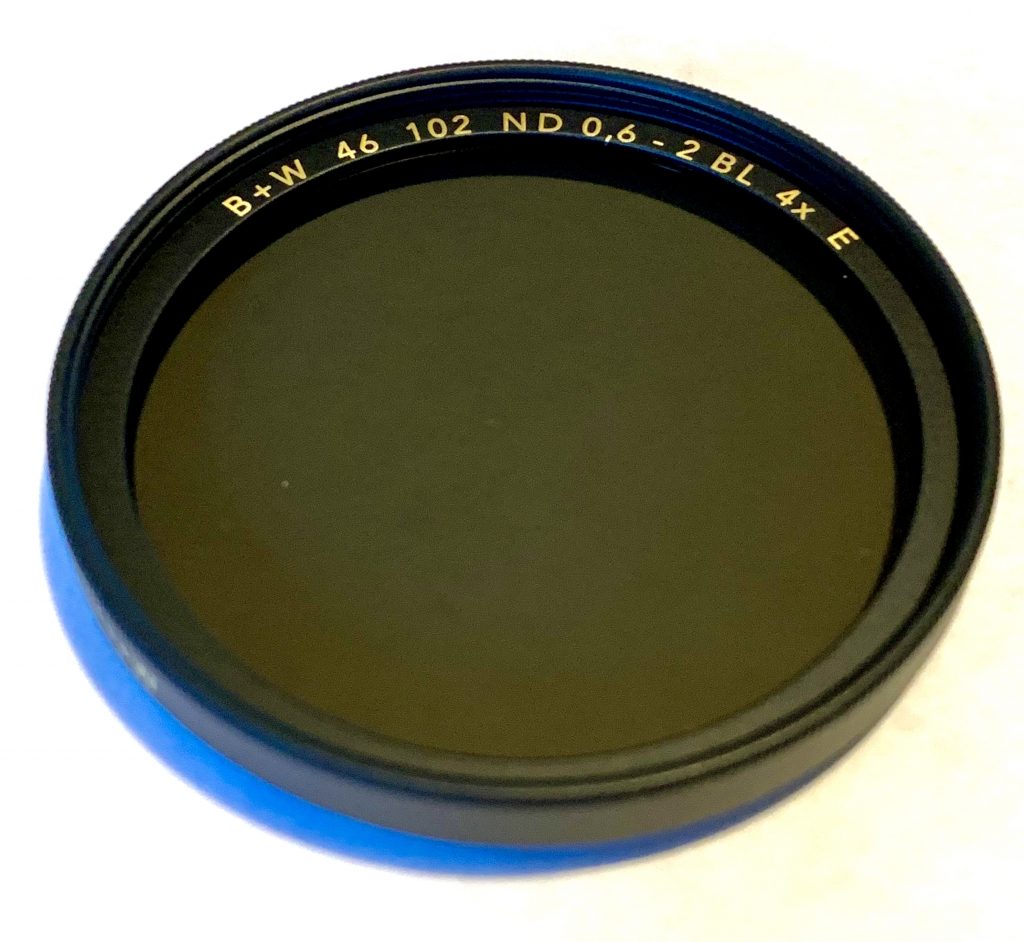
The filter I used for the test was a B&W F-Pro ND4. This is a mid-range filter but still exhibits a slight level of cast. Other filters are likely to have the same impact to a greater or lesser extent. You won’t know what impact your filters are having unless you run a similar test yourself.
Lens manufacturers go to huge effort to create glass with varying refractive indexes and coatings to get you the very best results they can at the price point. So where is the logic in hitting Amazon, buying an additional bit of flat glass and slapping it on the front in the hope that it will improve our images?
If you are pursuing the photography side first and foremost then there is some fantastic news. You don’t have to spend money on filters! Spend your time studying composition and understanding the exposure triangle, both of which are covered in depth from multiple free sources. You can then spend the money you save on filters buying an extra battery and stay in the air longer!
Depth of field
You may have heard that ground photographers and videographers can become a little obsessed with depth of field. DOF refers to the amount of the image that is in clear focus. The small the aperture, the smaller amount of the image is focussed. This can give a really pleasing effect in portraiture for example. It can also have an amazing effect on images where a building is close to the camera but the rest of the background is thrown out of focus. You can, in theory, use filters to allow you to open up the aperture without over-exposing the image on a bright day.
However, there’s a catch. The wide angle lenses generally fitted to our drones have really deep depth of field built in. It’s really difficult to get anything out of focus even with the aperture wide open. In fact, the fixed focus drones at the lower end of the price scale will take a clear photo of a roof a couple of feet away as well as they will focus on a landscape stretching miles. Unfortunately, the only way to gain any benefit from filters in this instance is to invest in a much larger drone that accepts interchangeable lenses. You can then put a medium telephoto lens on which will allow a decent depth of field. If you go this way you are probably operating commercially and get the whole filter thing already.
Take a look at the data
If you are interested in digging into ND filters, you can find the files used in this blog, including the raw images here.
